Behind the scenes: “Hope”
This is a behind the scenes post for the Lego photo: “Hope“.
Inspiration
For this image I wanted to capture a dark image wherein light would play the starring role. I would’ve liked an image that was dark in nature, yet with a glimmer of happiness, serenity or hope. After some time I decided to work with a prison image, with a prisoner showing some kind of peace with the situation.
Setting up the scene
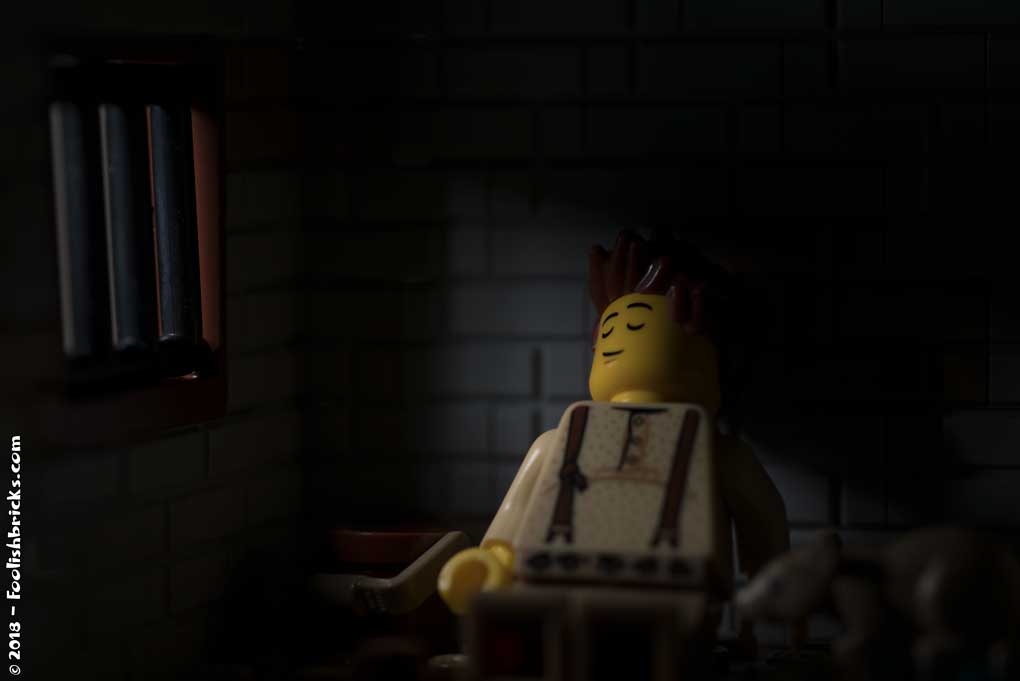
The final image changed quit a bit from the first concept in my mind. I build a small prison corner and put the minifigure directly in front of the barred window so the warm yellow light could shine on half his face. I used the sleepy head so it would look asif the imprisoned minifigure would seem to be silently enjoying the warm rays of sunlight with his eyes closed, remembering better times.
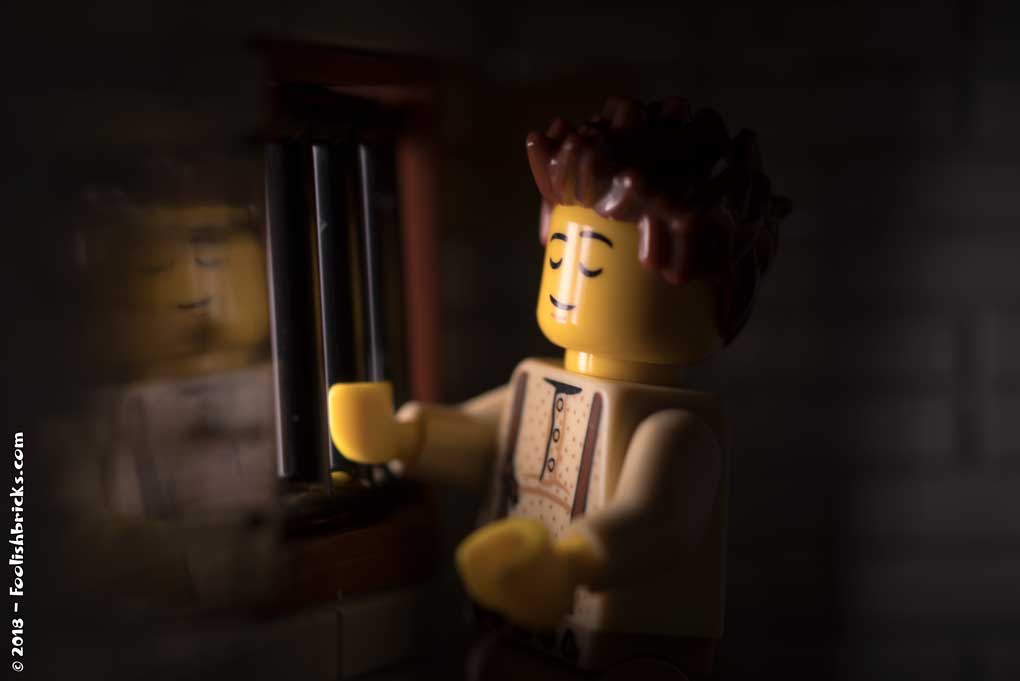
That did not work quite as well as I hoped. Because the minifigures have flat round heads, all contrasts that could provide depth in his face got lost. Also, you couldn’t see anything from the inside of the prison because of the darkness behind the minifigure (figure 1).
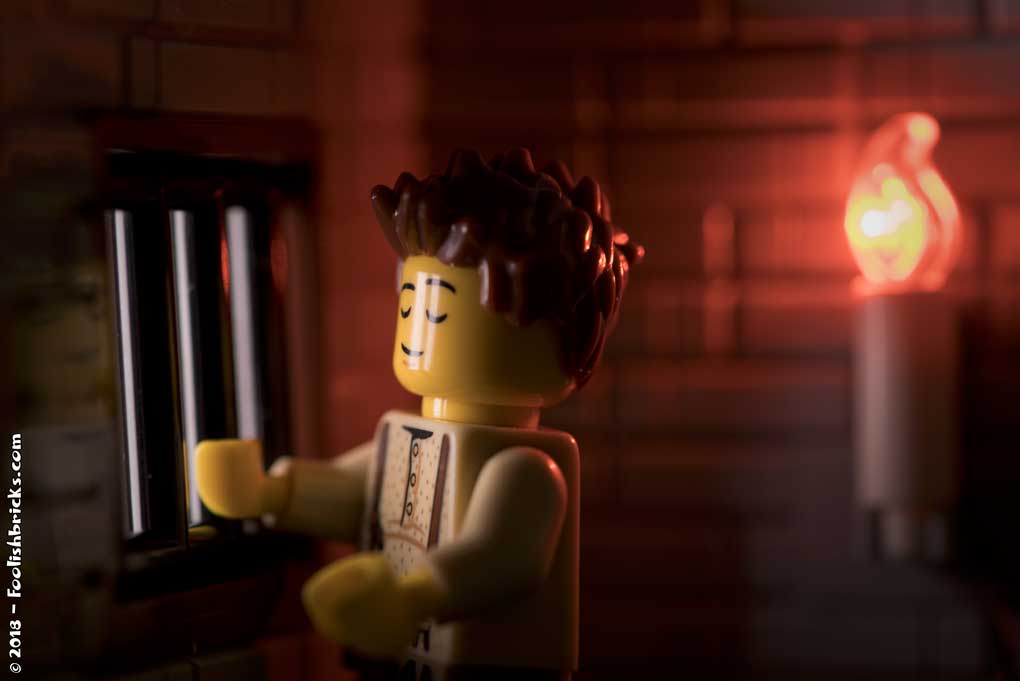
I tried adding a second light behind the prisoner, but that looked really artificial and unbalanced. I needed some kind of light source behind the prisoner. Next I tried a candle on the wall. This could’ve worked, yet, I wasn’t looking for contrasting light sources, so I removed it again (figure 2).
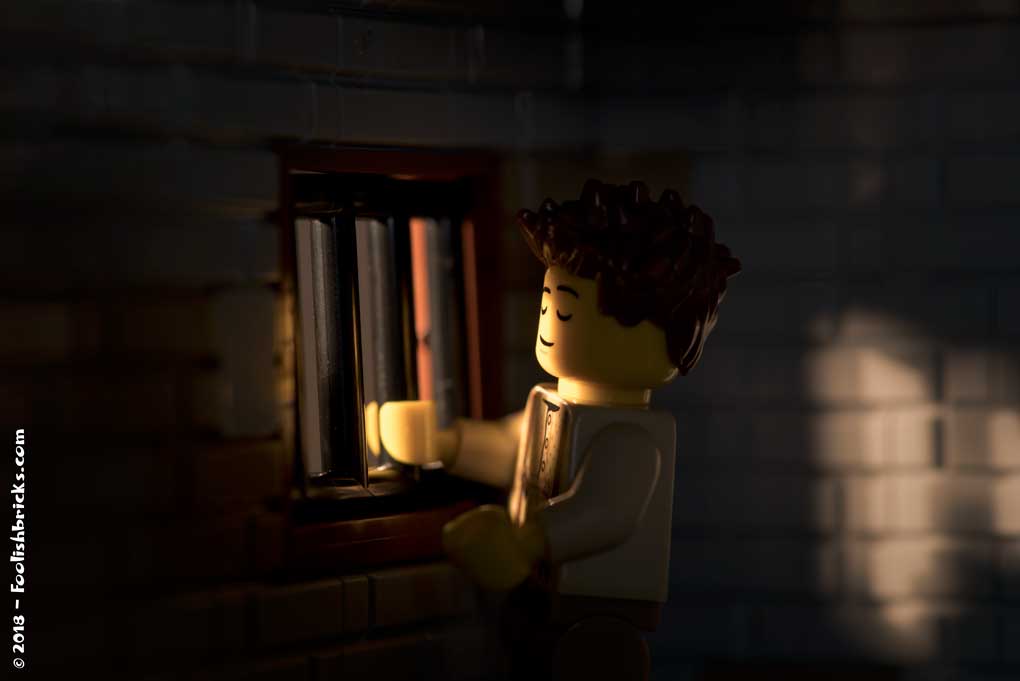
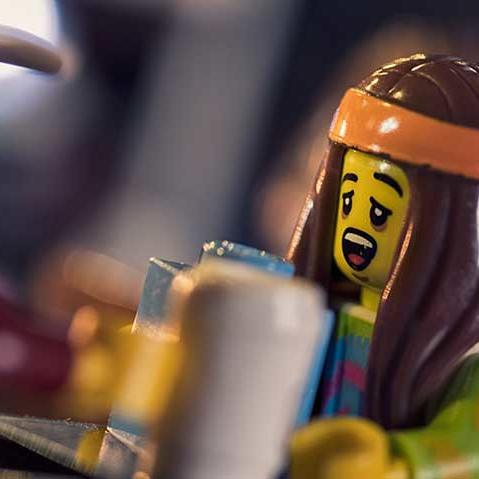
There was more of the prison in the image, yet, there was too much focus on the barred window itself. I needed the focus on the prisoner (figure 3).
Then it struck me; I simply had to move the prisoner away from the window! This way I could use the natural light hitting the prisoner AND the wall, I could use the structure of the whole minifigure for depth and I wouldn’t need a second light source. So that’s what I did. I added a few smalle details, like the bucket and (of course) a rat. That was it.
Technical
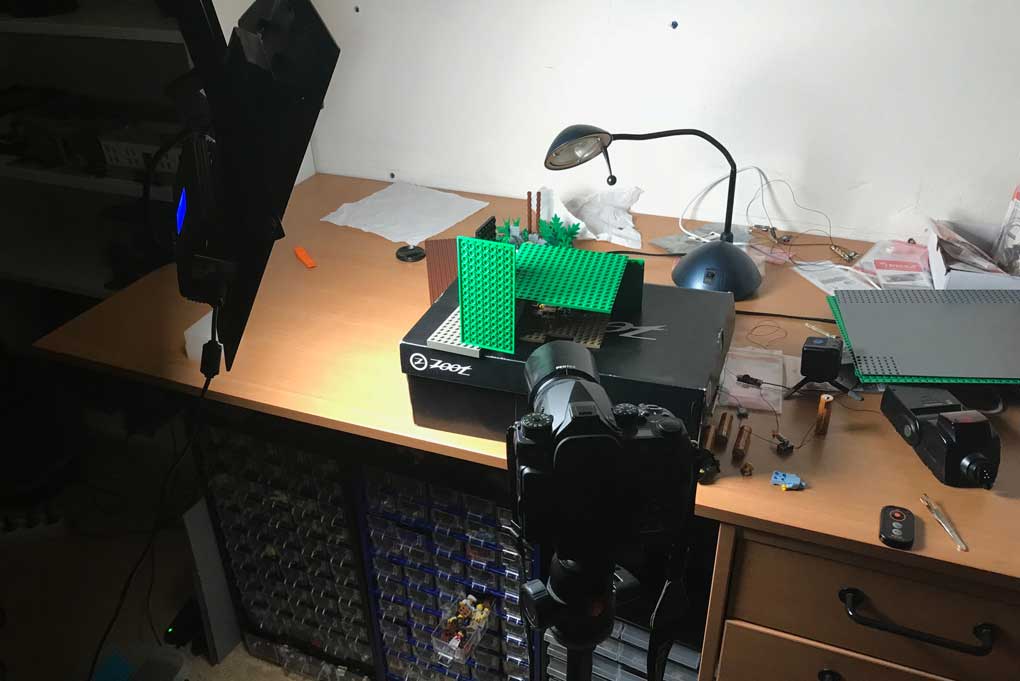
You can see the final setup in figure 4. You’ll notice the large plates outside of the walls. This is something I do in almost all my pictures and keeps the light from bleeding through the slits of the Lego blocks of the wall, especially if the light is shining perpendicular on the walls.
Post-production
This photo didn’t need that much work. The only thing I did was lighten op the whites and shadows in camera raw (photoshop) a bit. The before and after is below.

OTHER POSTS THAT MIGHT INTEREST YOU;

You can subscribe to the newsletter to receive occasional updates from Foolish Bricks.
Very cool! I actually like Figure 3 the best, but I understand why you continued on to create the next image. Art is so subjective, and I think as photographers we can end up with several images that each have their appeal — but in the end, we choose one.
Thanks Teddi. In hindsight photo 3 is not that bad, and might’ve been ok too. One of the more difficult choices for me is when to stop (shooting or post-processing). When is an image good enough?
You made awesome shot! I like how You played with light and dark areas. I think on Your last shot light play starring role it gives more hope this guy….thinking better moments his life and gives relaxt view. But same time the same light shows this room where this guy is and tell us story…..he is not free.
I like final shot most.
It is very Intresting to see how You work making these pictures and how You found way to the final picture.
I think You make very greatful work with behind the scenes. They are Intresting to read, are educational, inspiring and more…..
Your homepage are on my phone favorites and I fallow Your Instagram page. I looking forward to see Your new shots and new behind the scenes. I have much discover Your site.
Sorry that my English is not perfect!
Welcome Margus! Thank you for your kind words. I hope to keep you entertained in the future. Maybe you could take a look at the comics too. They are a complete other type of Toy-photography, with different goals and rules I realised over the years 🙂 .
Your English is good enough for me, I have no problem understanding what you write 🙂