Camera shots – a guide for Lego comics
Original: July 29, 2018
latest: February 19, 2022
A Lego comic comprises one or more scenes. Of course, these scenes need to build. And the actual building blocks of scenes are the so-called camera shots. In this article I will discuss the basics of camera shots for Lego comics.
The infograph will serve as a summary of camera shots for Lego photography.

What are camera shots?
Camera shots are camera positions related to how much of the subject and its surrounding area is visible in a panel. Not to be confused with camera angles. Camera angles provide the shots at different angles. I discuss camera angles in separate article.
Choosing your shots and angles carefully will help you convey information about the story you are telling. Like, where you characters are, who is present, how everybody is positioned related to each other, if there is anything going on besides the main action, any emotions that need extra attention, etc. An example of conveying information is a combination of a full-shot (see below) with a shallow depth of field (remember your aperture settings!) focussed on a specific character or purpose. It can tell your readers who are present in this scene whilst also guiding the readers’ eye to the person or element you’d like them to focus upon.
Types of camera shots
There are two types of camera shots; framing shots & function shots. Framing is defined by how much is included in the shot. Function is about what the purpose of the shot is.
Framing shots
I listed a few of the more well know camera shots. However, the naming and definitions of all these shots might vary somewhat between sources.
Extreme long shot; shows the general area of the current setting. This shot all about scenery and gives your readers some idea of the geography your scene takes place in. For these shots you would have to build a large stage, or you can work with micro-builds.
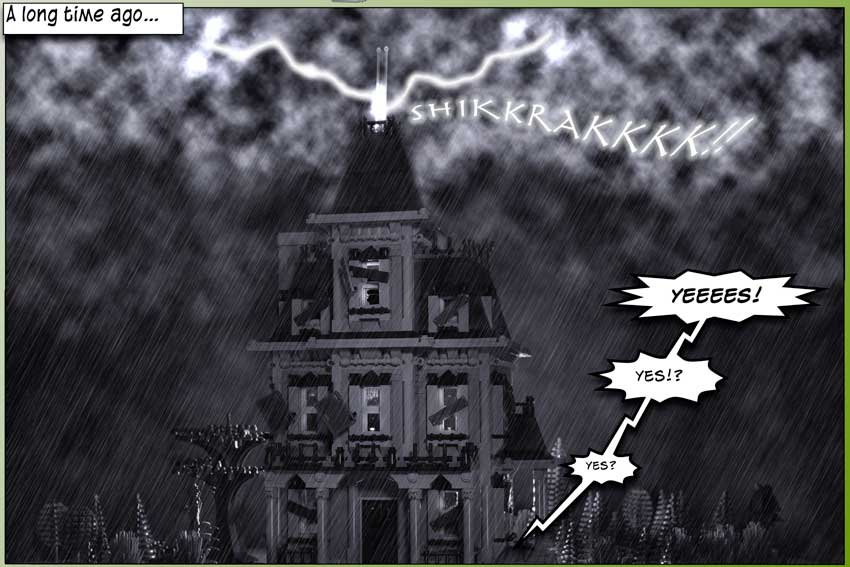
Long shot, (wide shot); still is about scenery, more specifically showing where the action in the scene takes place. This time however, there are (mostly) characters present in the shot.
Character shots
Shots that are focused on characters are character shots. The tighter these shots get, the more focus is on the character and less focus on surroundings.
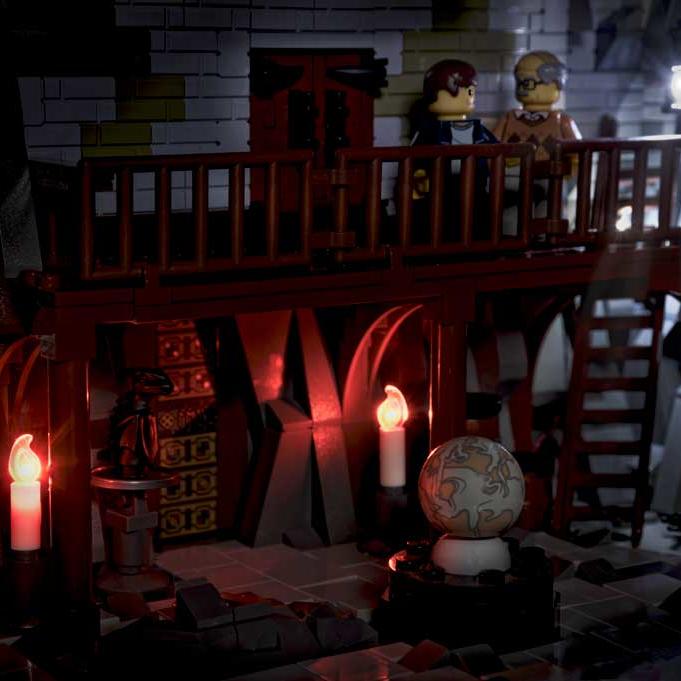
Full shot; a complete view of a character. There may also be over one character in this type of shot, showing the relationship between characters.
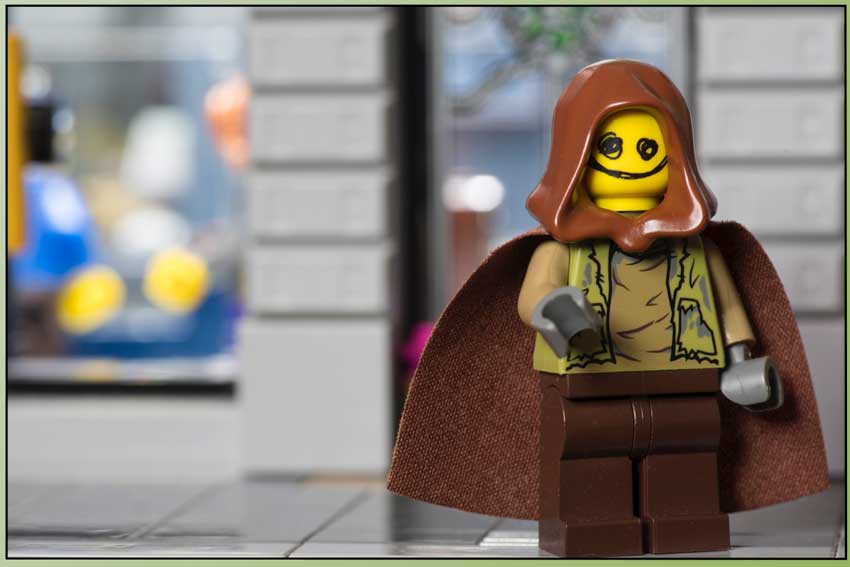
Cowboy (American shot); a variation of the full shot, where the character is in view from below the waste and up. This name is derived from the western genre where the gun-holster on characters is shown.
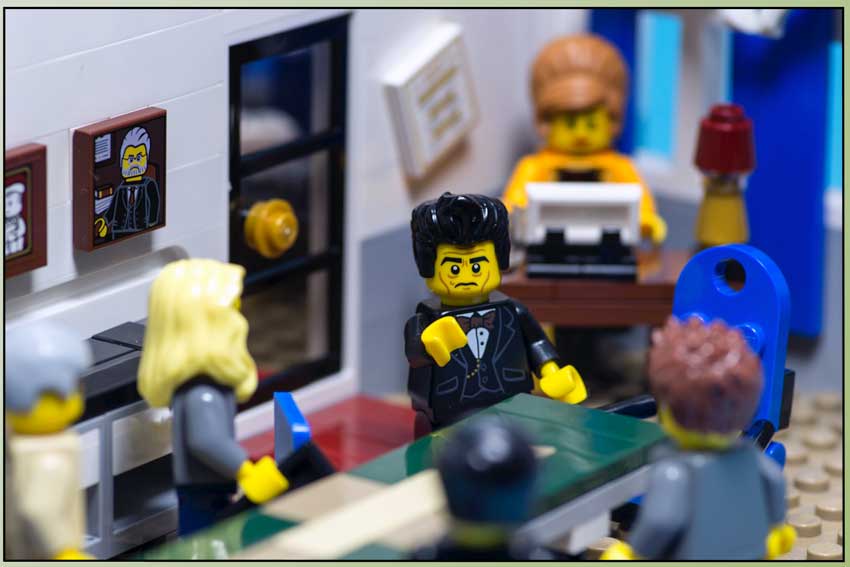
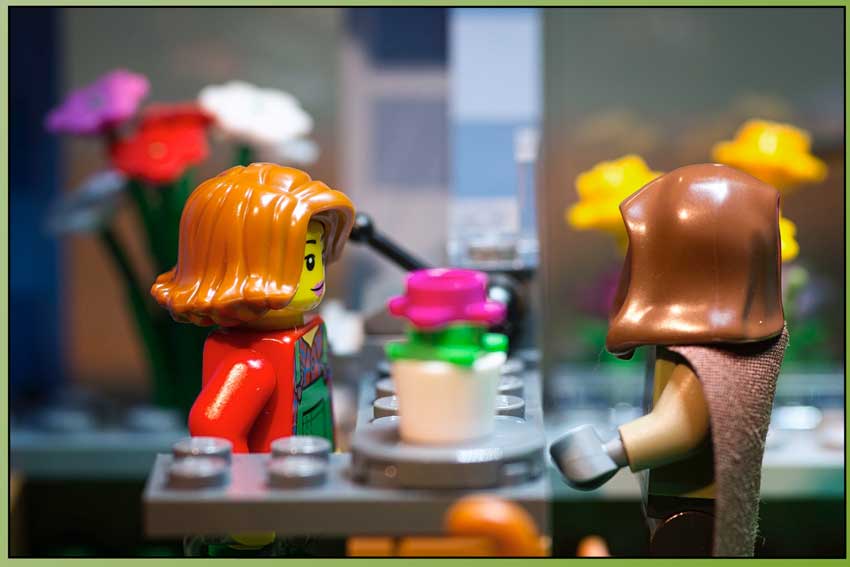
Medium shot (social shot); the character(s) from the waist up. For example, characters at a table or behind a counter/ bar. This shot brings your readers closer to the characters and into the action.
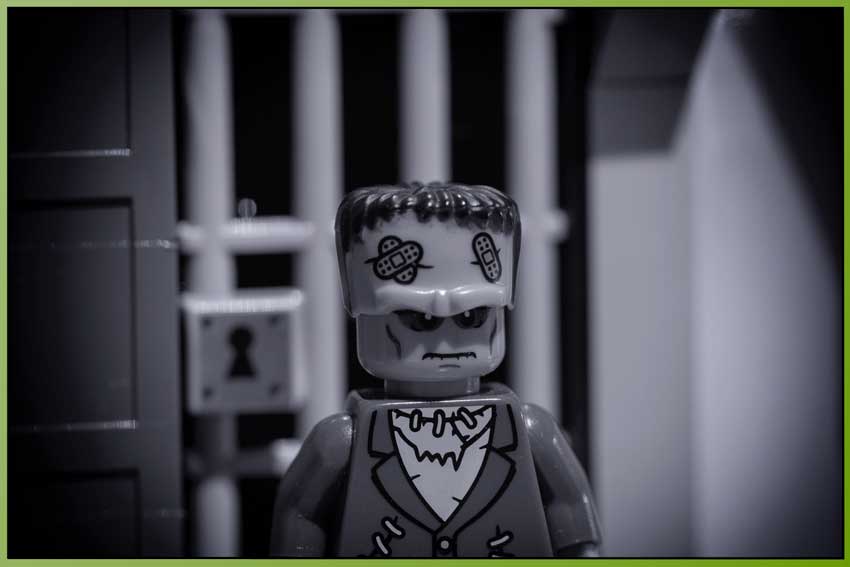
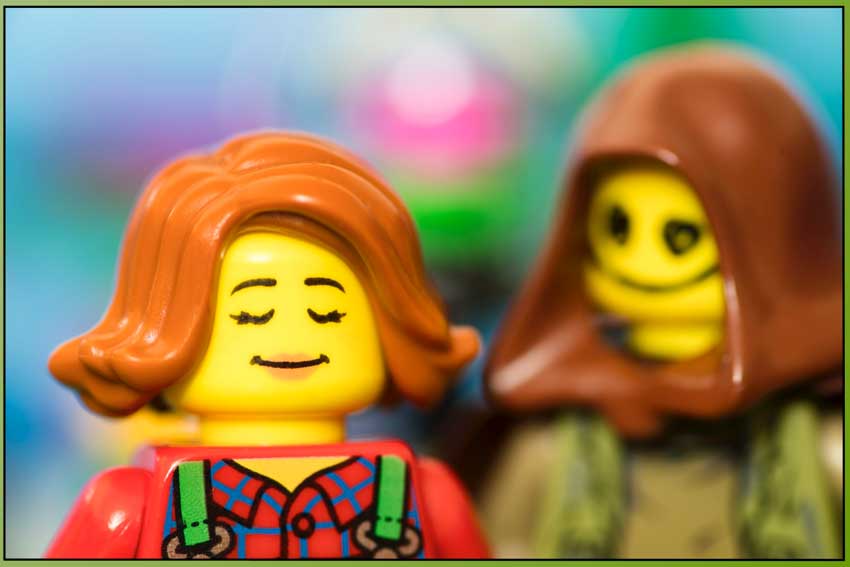
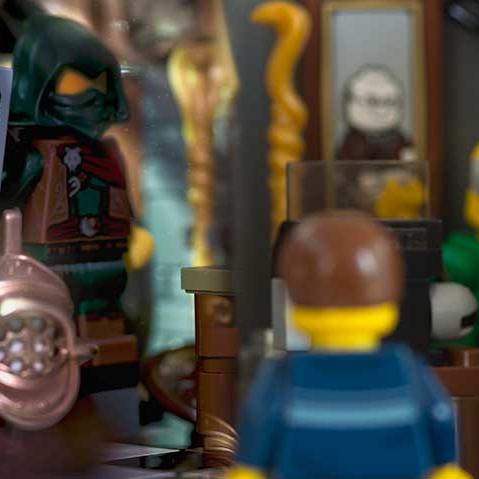
Closeups (personal shots); there are many variations of the close-up and brings your readers up close and personal with your character. With Lego, there are no subtle emotions that can be seen in a medium shot. However, mostly it changes the feel of a panel if you move in real close.
The variations of a closeup are;
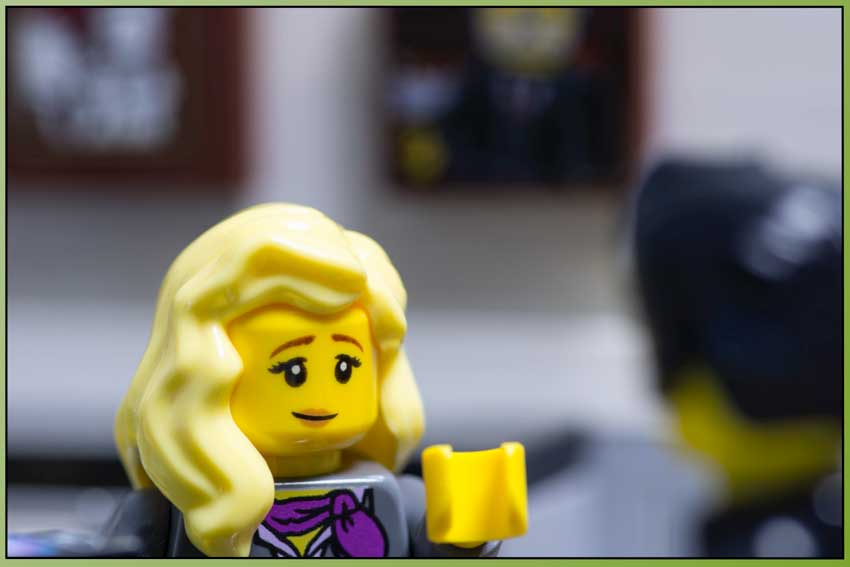
- Medium closeup: mid-torso and up.
- Closeup (choker): from the throat up.
- Tight close-up (big head): just below the head, cutting off part of the hair.
- Extreme close up (Italian shot): even less of the head is visible in the frame.
You can also use these shots for objects; for example, only a knife, or part of the character.
Other types of framing shots
Any shot that includes only one character is called a single. A shot with two characters included is called a two shot, one of the most essential shots of storytelling.
Over the shoulder; a shot where we look over the shoulder (closeup) of one character to another character/ object (medium shot or closeup). It ties two characters or a character and an object together.
Function shots
- Establishing shot; A shot that shows the readers of your comic where the action is taking place. Besides giving the readers a ‘where’. It can convey much more information. For example, what’s the weather like, is it a hectic place, or the opposite, are we in a rich environment, is there a lot of police in the street, and much more. The possibilities are endless. Usually, an extreme long shot or long shot is used.
- Reaction shot; shows the reaction of a character to some kind of event or text. Usually, a medium shot or closeup is used.
- Insert; a part of the larger scene that gives your readers extra information about what is going on. For example, a clock showing time or a name on a name tag. Usually a closeup is used.
- Transitional shot; A shot between scenes that is not a part of either scene. This can help for atmosphere or give some information. For example, a sunset or sunrise, or a busy street showing that the workday has begun.
Camera shots vs. lenses
If you’d like to get all the shots straight out of the camera, you will need a macro-lens, certainly for the medium shots and closeups. Alternatively, you can photography your scenes as full shots or bigger and crop the images in an image-editor like Photoshop or GIMP. If you edit afterwards, use the highest quality images you can shoot with your camera.
In conclusion
When I started my comic, I did not know about camera shots. I only varied shots to make the panels look different from each other, hoping it improved the look of my comic. Now I try to think about how I want to shoot a photo to use as a panel. What type of shot will get my story across in the best way? Because, in the end, it is all about storytelling. And camera-shots are another tool in your toolkit to tell your stories the best you can.
Next time: camera angles
OTHER POSTS THAT MIGHT INTEREST YOU;

You can subscribe to the newsletter to receive occasional updates from Foolish Bricks.