Stage-design of the Foolish Lego comic
Now that the first episode is done and over with, I recently took down the sets for the first comic. I don’t systematically keep track of how they are built, so all I have are a few photos of the sets taken from a couple of different angles. If I should need one of these sets in the future, I can hopefully recreate them pretty accurately from these photo’s.
I’ve already shown little bits and pieces of these sets, but now that they’re really gone, I’ll share most of them with you. Wistfully, some sets have already been lost, without photos (the cafe-set from one of the early episodes, or the escape-tunnel with entrance and exit for example). A couple of other sets are existing Lego sets, sometimes with a few tweaks (for example, the very first episodes on the street).
Looking back, they are quite small and simple. As I understand from some readers, they imagined them to be (a lot) bigger. That’s nice to hear because -mainly later in the comic, I tried to make the sets a little more extensive than needed so there is a feeling of space outside the panels. It also helps to make different angles of shooting the individual scenes more diverse when necessary. Most of these sets have one or two walls. For most shots that is sufficient, but sometimes I needed a wall on the other side, so I quickly put something together and put it behind the ‘actors’. (an example is the last panel in episode 18 of the first season).
As I am always complaining about time, the set-building was an important issue. Many times I wanted to move on in the comic, but I just didn’t have the time to build these sets I needed for the new scenes. It didn’t help that I didn’t have a complete script either. This kept me from the possibility of building when I had the time and using the set when necessary in a future episode. Thankfully, Eno was a very green planet… Grabbing a green baseplate, and just sticking flowers, trees and plants on there has helped me on a lot of occasions… simple, quick and effective. That explains the many forest-scenes :).
In the new episode, I have no such luck; most, if not all, of the story does not take place in some kind of forest. However, I have a general script this time around and I already built three sets! This weekend I will start on the fourth (important) set, whoho 😀 ! That feels so liberating!
One thing I have noticed is that the set-design has changed for the new season. They are larger and technically more difficult. Complete environments, and a lot of elements that can be removed, returned and changed. This makes it I can shoot from all angles. I did not do this for the first scene though, and I noticed I was missing two walls, so the next scene will be different concerning angles. Also, this time there really IS off camera space with some details no one will probably ever see in the comic. When this episode wraps up, I will post pictures of the sets.
So here they are:
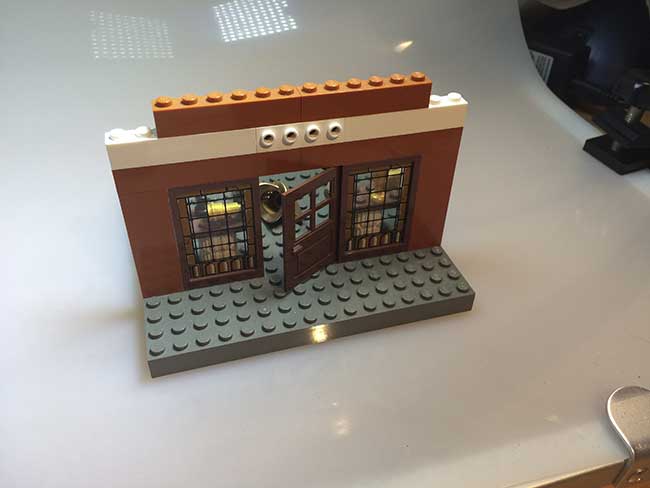 The front of Strabo’s little shop…
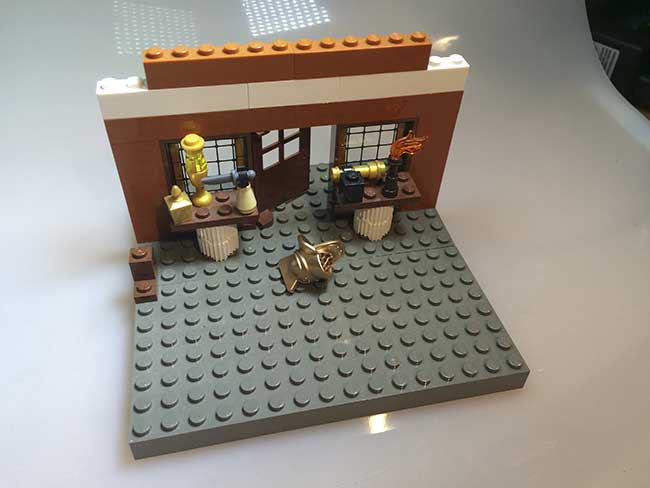 And the inside, one of the few (if not the only) set in this batch that uses both sides of the wall.
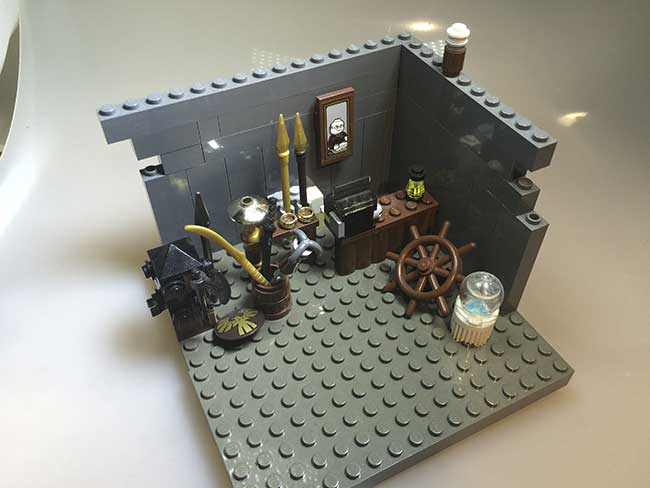 Strabo’s shop
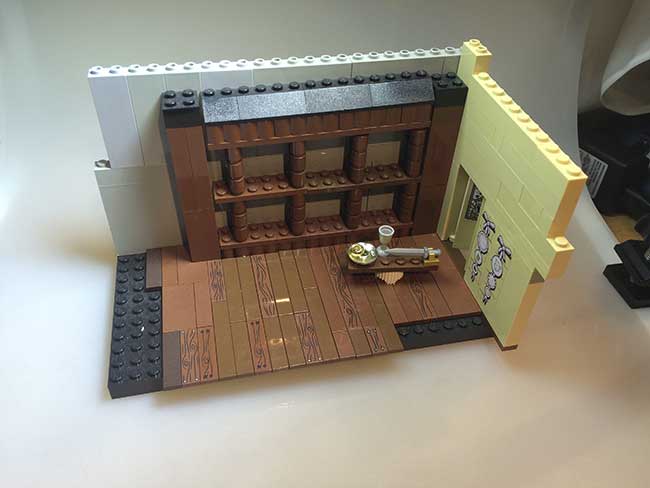 and his library..
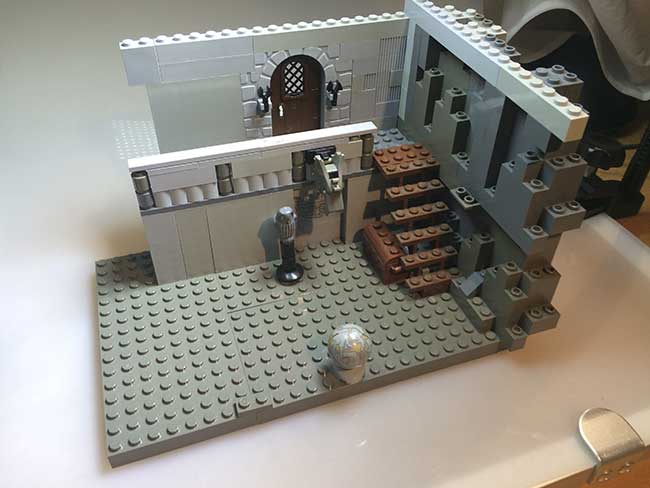 and the basement, I used this one for a single photo once btw…
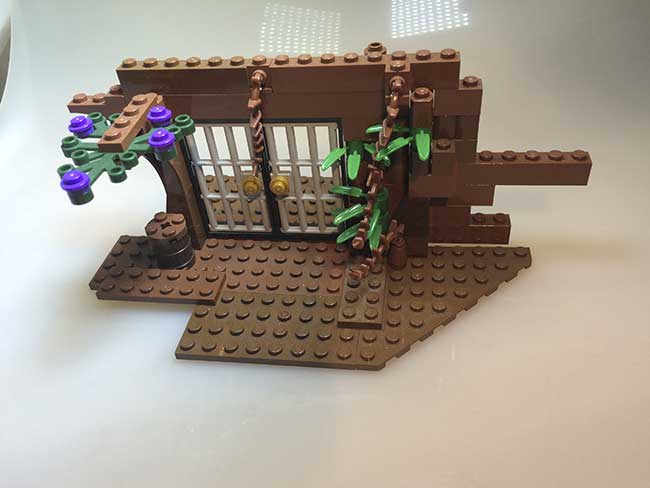 Amida’s celldoors
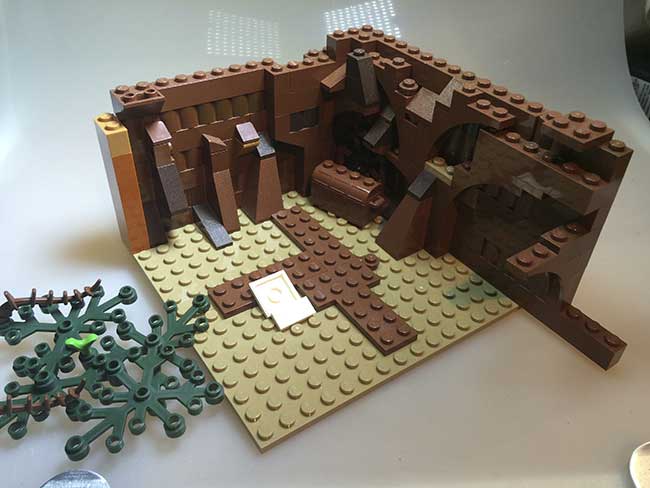 The inside AND the outside of Amida’s cell!
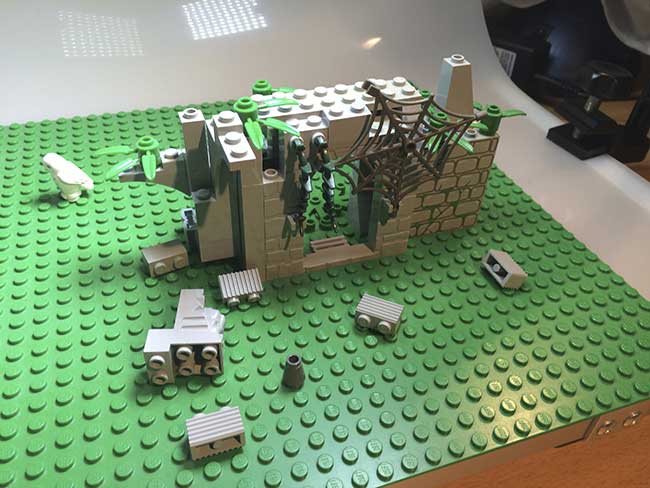 The portal. The trees and green are all re-used
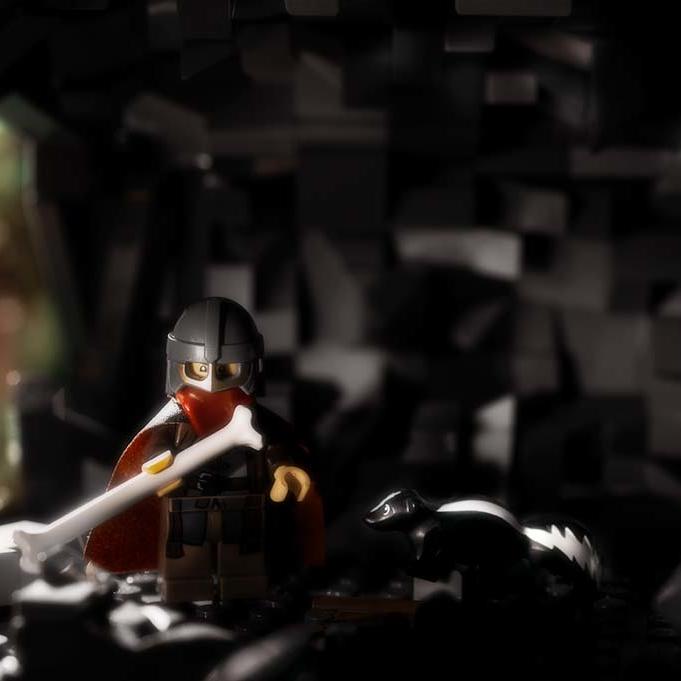
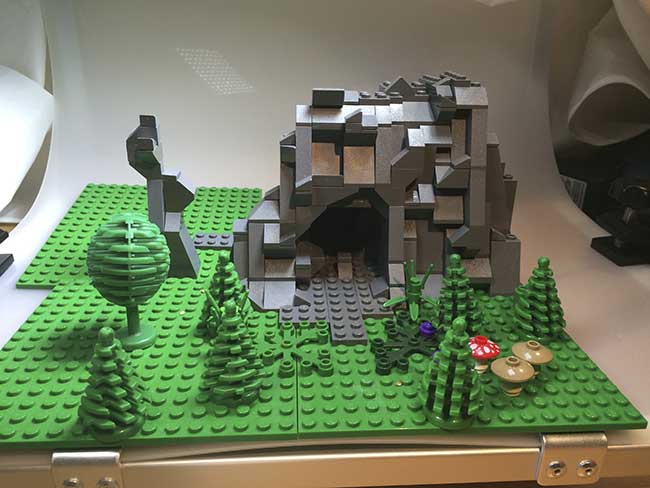 The cave entrance. My favorite set! I loved sculpting these rocks…
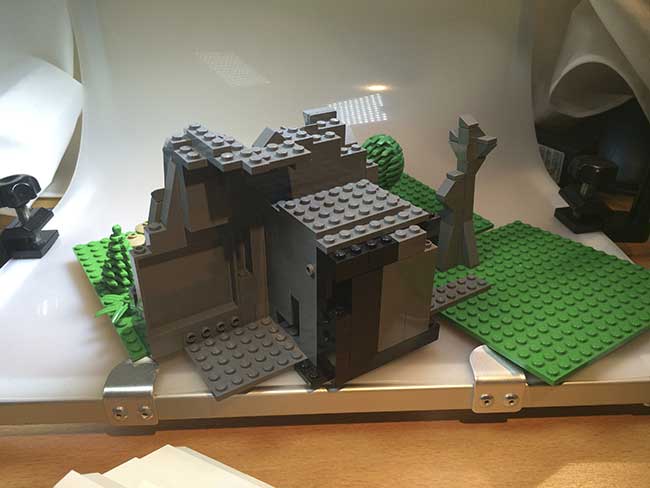 The backside however…. not so nice 😉
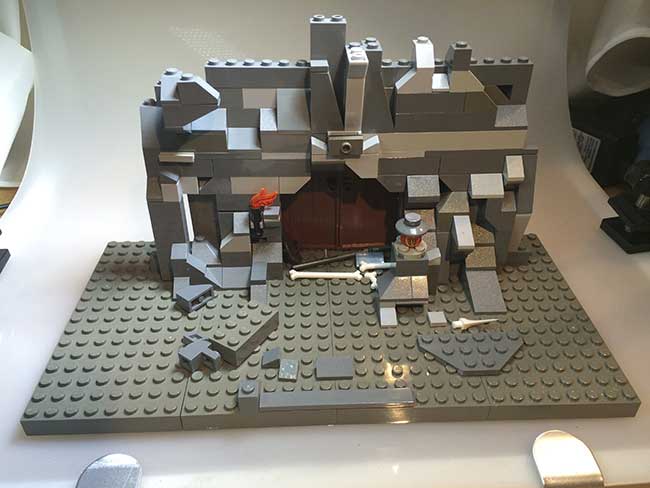 The second portal, with lighting under ‘Willy’s eye’
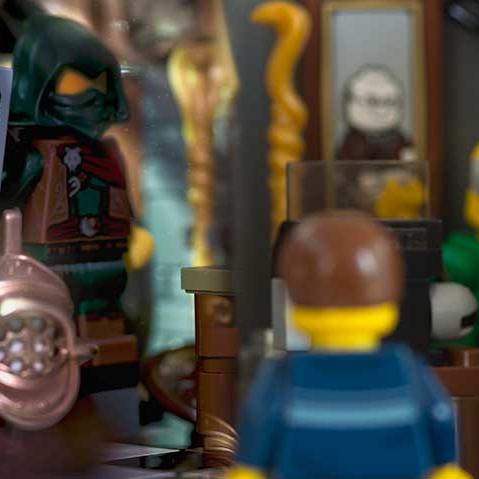
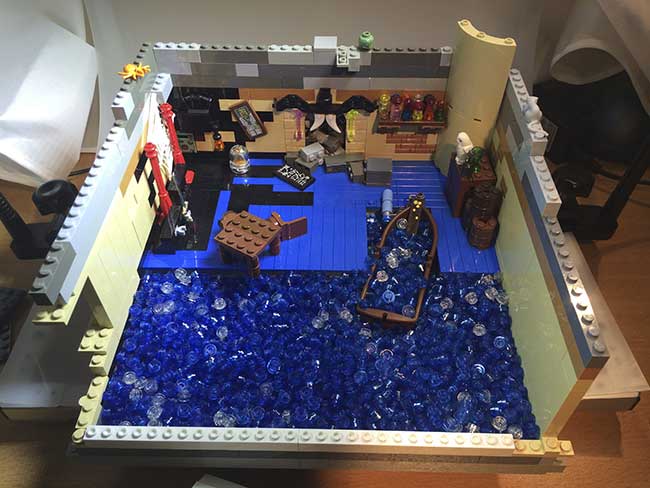 An elaborate set, very underused. A complete backstory attached that was never used in the comic. Many different things are going on in this set. Oh and did anyone notice a picture of Dwaas on the wall? 🙂
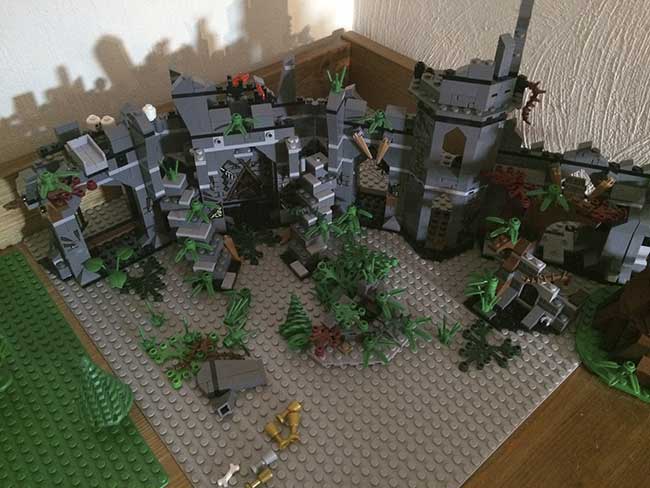
The largest set, but also quite easy. A tweaked existing ‘hobbit-set’, used for the sequence in the past (one of my favorite parts of the comic, but also the part that cost me the most time because of all the photoshopping).
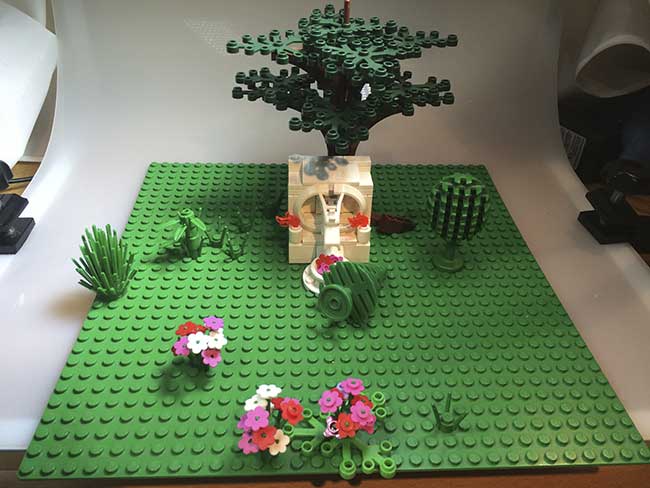 The dragonshrine. This one I did not take down, I like this little build too much. Actually the shrine was build for a 365-photo with Willy before I even thought of putting him in the comic if I remember correctly.
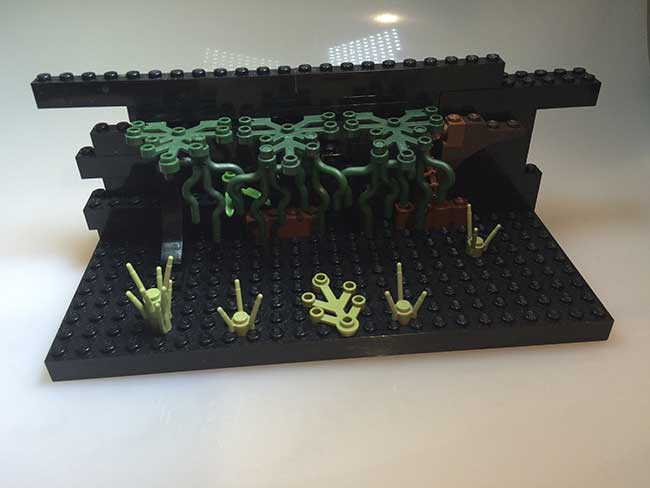 Inside the sanctuary…
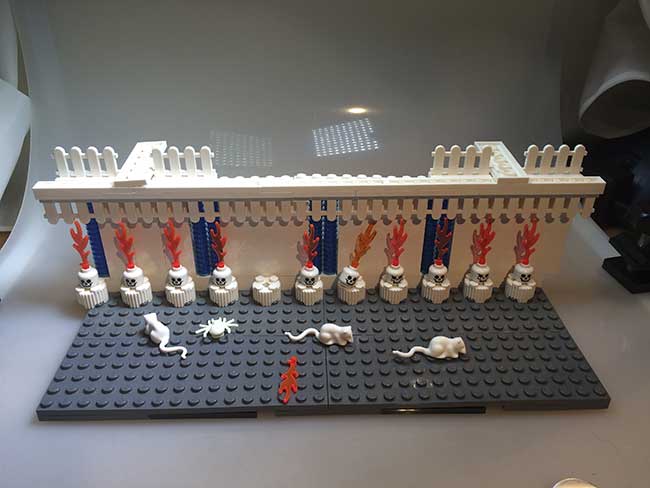 The hallway inside the dragon-shrine…
That’s it for now. Do you recognize all of them? Are they different than you imagined them to be? And if you’d like to create your own comic, be sure to read the definite guide to create a Lego Brick Comic.
OTHER POSTS THAT MIGHT INTEREST YOU;
The ranger
January 24, 2021
Lego comic panel remake – Strabo’s store
January 20, 2019
ISO settings in Lego photography | A beginners guide
February 18, 2022
You can subscribe to the newsletter to receive occasional updates from Foolish Bricks.

More behind the scene blog spot! Woot!! Love those… I’m excited as a kid who is getting taught magician’s tricks LOL.
That’s a serious post to try to figure out the art of making a LEGO based comic happen… I indeed thought the building will be bigger but that’s the magic of photography… It only shows what you wants to show… The good angle can make wonders!
I recognize all the sets but 1… The biggest actually LOL, I’ll have to check it back.
I hear you about the underused sets… I myself put a lot of energy in some buildings I like a lot but that won’t be display as much as I want in the comic… They deserve blog spots on their own!!
It’s all pretty straightforward in my opinion.
I kinda like the fact there are details that nobody sees… that gives me the personal angle into my own comic 🙂